Showing posts with label crafting for ourselves. Show all posts

Thursday, December 18, 2014

2014

I feel like December hasn't existed.  Though my calendar tells me otherwise.  It's also telling me that the end of the year is only 2 weeks away.  I don't know if I'm ready to face a new year yet as I really kind of enjoyed 2014.
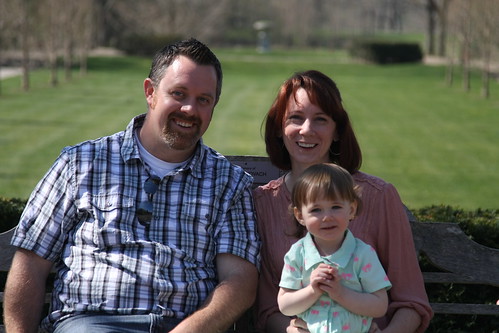
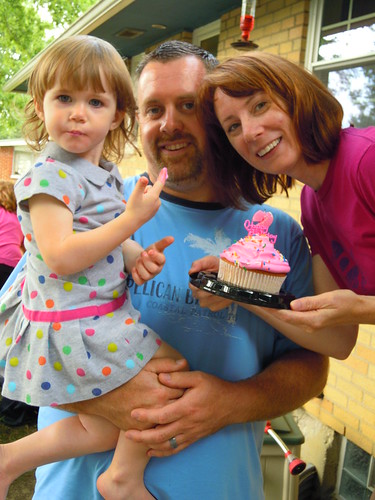
Taylor Family April 2014
We did our own family pictures.

014
Gettin' there. 2 rows outta 5.
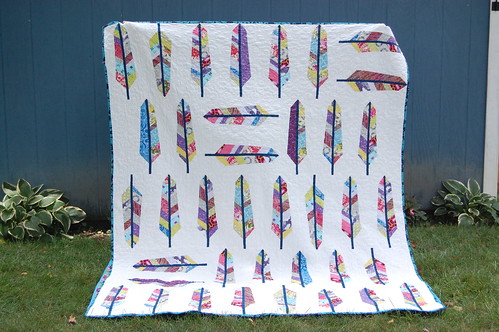
The Feather Quilt started to become a reality.

Spring Bunny Wreath Original_12
I made a tutorial for a Spring Blog hop for Lupin over at Bugs and Fishes.


Quilting Diamonds
I finished my mom's table runner.


40 dogs sewn in two and a half weeks, 20 more to go. Not a bad pace.
I started my last big order for GRREAT.
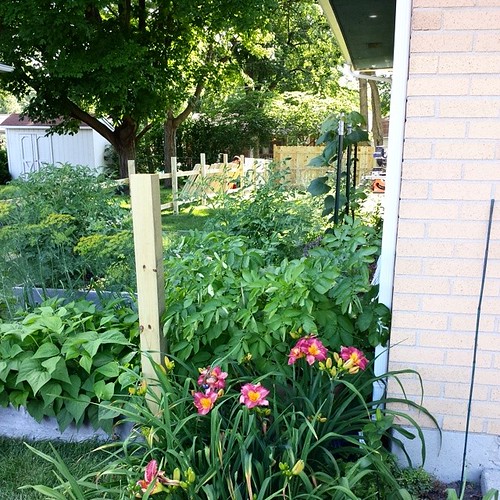
Side pickets away!
We installed an entire backyard fence all by ourselves and my garden went nuts even though it turned out to be a bad year overall for vegetables.
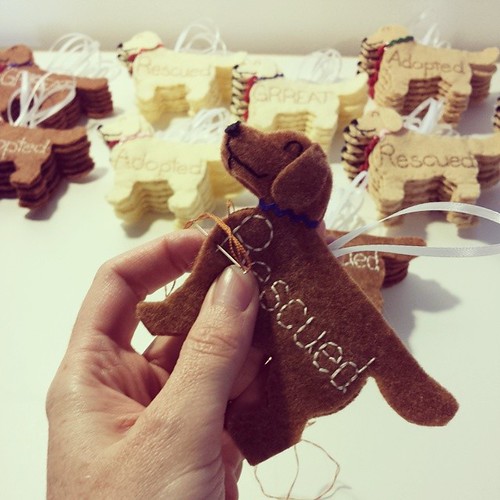
The Last One.
Finished the big order.

She's 2!
Fi-Beastie turned 2.

Allison's Wedding Quilt
The Feather Quilt was finished.

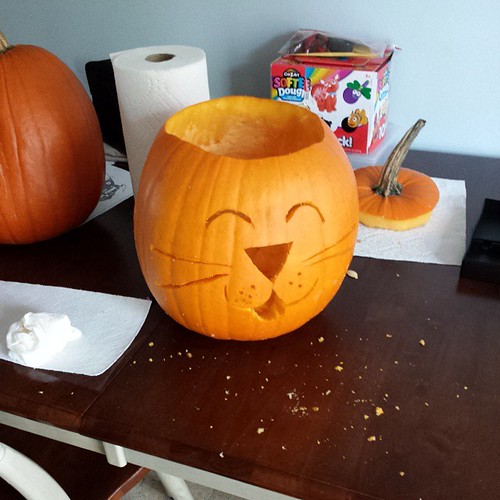
Pumpkin Cat nearly complete.
Halloween came and went.

001
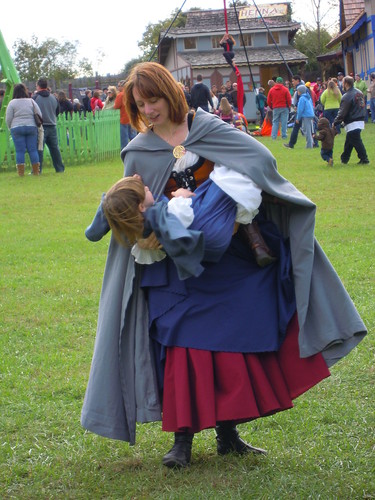
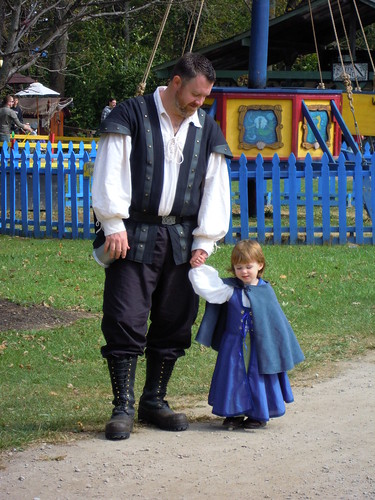
RenFaire was cold but even better than last year.
005

013
Fiona had a blast.

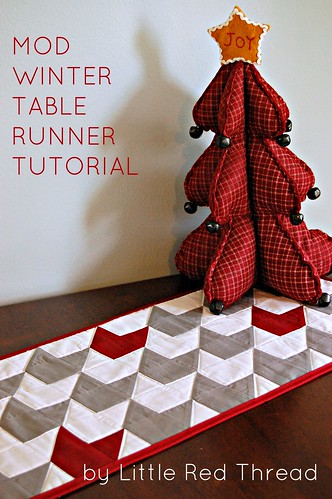
Little Red Thread Mod Runner
I designed and blogged my first tutorial under my new name.
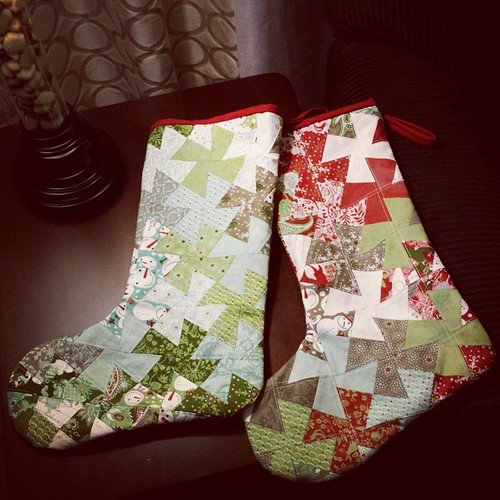
Christmas stockings finished for Chris and I. Fiona's was finished early this year. Now everyone has their own!
And I completed 2 more Lil' Twister Stockings for Chris and I (before Thanksgiving even!).


My sewing year was dominated by The Feather Quilt project, but I did so many other projects that I just did not manage to snap pictures of or blog about.  One of them includes Fiona's RenFaire costume (which you can see in 2 of the pictures about).  But that's the way of a crafty mind.  I often get so caught up in my current project that the last thing I want to do (remember to do) is snap pictures, edit, upload and then blog about them.

Starting in 2015 I'm hoping to start blogging under a new name, Little Red Thread, and begin getting a few more quilt tutorials and designs pushed out into the public eye.

This whole year has been a challenge and a struggle to find time to get all my ideas on paper and then tell you all about them.  While I try my best to keep this blog updated, and I'll be honest when I say I have no idea how some bloggers update daily, we've been having difficulties on the technical side of things, mainly with an ancient computer and time management on the toddler end of the spectrum.  I don't know how 2015 will turn out, but I do know I'll continue to do my best to keep you along on as many sewing adventures as I can manage.

Merry Christmas, Happy New Year and Joyful Sewing!


Friday, March 2, 2012

The Chain Gang Sewing Tip

Alot of times while working on a quilt you'll find yourself piecing and sewing together the same type of  block combination over and over...and over. It can become quite tedious and boring.
To help speed it along you can "chain" your blocks together!
Chained Pieces

Chaining blocks is exactly like it sounds.  As you finish sewing the piece you were working on simply sew a couple of stitches out from the end of the last piece (don't worry it won't hurt your machine) and then add the next identical block combination and sew that one together, so on and so forth.  There is no need to stop the machine and cut threads for each tiny piece.  You can see in the picture above that there is a space between each block and each block is connected with thread thus chaining them together.

Once you finish sewing the all the identical block pieces together you'll be left with something that resembles a wonky kind of bunting.  Lay your sewn pieces flat and cut the thread between each block piece.  Presto!  You've sewn several bits of fabric together much faster with less fuss.  Plus it's kind of fun especially when your blocks start to get bigger.

You can see in this picture that I still needed to add another piece to the other side.  I did the same thing with these and chained them together, and then cut the extra thread between each piece when they were all done .

Chaining the other side

Here's a video to help you visualize it (I personally do not recommend sewing over your needles and no that is not me ^_~):

Wednesday, February 29, 2012

Quick Quilting Tips

Despite all of our remodeling I've been working on all my overdue Christmas projects that were put on hold due to the Holiday Rush on Tumus and then my previous sewing machine biting the dust.

One of these projects is for my sister-in-law.
It's going to be a wall hanging of the American Flag that's been stylized.  The pattern is called "Stars & Bars" by Minick & Simpson. 
As I was getting my fabric cut out and stacked I thought I would point out few things that might help you on your next quilting project.

Tools you will always find useful while sewing:
- pen and paper
- camera or cellphone with camera
 - sharp scissors that are dedicated to fabric-only use
- a rotary cutter usually a 45mm or 60mm blade is best
- a self-healing cutting mat and a ruler as long as your mat
- seam ripper (definitely)
- small thread snips 
- an iron
- good lighting, a comfy seat
- the ability to make mistakes and be okay with starting over ^_^

1) Organization is very helpful when you've got alot of bits and pieces. 
Layout your color combinations and take a picture, this will help you remember which colors you like best together.

 Stars & Banners

2) Do label piles and write down your fabric combinations.
This is especially helpful when you have cut pieces that are only different by a mere inch.  Post-it notes are great for this!

Write out your combos and label

3) Don't be afraid to mark on your fabric.  
I would recommend either a pencil or a water soluble pen, but sometimes you can get away with using a ball-point pen.  Marking like this is especially helpful when you need to sew on a diagonal!

Mark it

or if you don't feel like marking and are comfortable with your sewing skills you can do this instead.
Using your top thread simply pull it from one point to the next and start sewing following your thread as you go.

Or you can mark it this way

These are just a few tips to help you out, but there are dozens of other tricks you can use.  If you have any quilting suggestions or tips that you know of feel free to post in the comments!

Sunday, October 30, 2011

Retiring the Tank

Anyone whose ever owned a good, solid sewing machine knows the sadness that comes from your machine breaking down in the middle of a project.  My Pfaff 1475 has been a real trooper over the last 5 years that we've owned it.  It was first my husband's and then it was passed on to me.  Now it's going back to the hub's because the mother board is going out on it.  To fix it will cost around $300, but Chris is convinced he can fix it himself in house.  Despite his offer (and best intentions) I think it's time to move on for me. I'm getting a newer "used" classroom model from our local quilt shop. The Pfaff Expression 2.0.  We're also getting one for his mom which I secretly hope she doesn't ruin within the year.  She's got a bit of a "bad touch" when it comes to anything computerized.  He's hoping that since both her and I will have the same models that I can help her if she gets stuck....(insert laughing sigh here).

They don't actually make this model any more and the design itself is barely a few years old, but it's a beauty.  I'm not very keen on computers in sewing machines, but since that seems to be the "wave of the future" I've been forced to go with the flow.  This machine sews like silk.  It has a super wide throat (which means we may have to modify my beautiful sewing table, eep!) to accomodate bulkier projects.  Even the computerized display will tell you what foot you need to attach and a suggested tension for your thread.  It's like sewing has become too easy nowadays.

I remember learning to wind bobbins and thread the machine on my mom's old Singer.  It wasn't easy, but it was a work horse.  Many Barbie's were well clothed when I was at the machine.  Still I can't help but give the ole' 1475 a good salute for a job well done.  It's not down and out yet, so I hope I can keep it around for a bit longer.

Wednesday, October 5, 2011

Of Crafty Thangs & Business Pangs

Earlier in the year you may remember the Log Cabin quilt I made for my niece Abby

Abby's quilt

and then came along Project 14 for Craft for Hope: Christmas in Dixie

Stocking for Project 14

I forced myself to work from my stash when making those stockings and they were the first I've ever made, but I caught the sewing fever again.  This means two things. 1) That what I was hoping to do with Pinpinn as it closes down from selling pincushions feels even more right.  2) I have an excuse to buy more fabric.  Seriously though it's exciting.

I've noticed that as this year draws to a close the changes that Etsy has launched has really made the whole site feel much like a closed loop or a very confined circle.  It's becoming harder to push people towards my shops for various reasons and it's discouraging.  There are a few personal factors hanging around with my decision about Pinpinn and also the urge to really become a business and meet potential customers.  In other words I'd like to start selling at craft shows, just a few.  Etsy has me feeling very stuck and the longer I'm there the more claustrophobic I feel.  Because Tumus is set up on a "made to order" basis I can't really sell at shows, but I've reached out to a few local places to advertise at this year.  

The idea I have for Pinpinn though has potential, the kind that makes my tummy kind of flip and my brain go into overload when I try to sleep. It's funny when you have those kinds of ideas.  I don't know how well it will go or what kind of reaction I'll get or even if it's something people will want, but it feels good and I know my area and what people buy around here so it's very possible.  So possible it's scary.

Friday, June 24, 2011

Learning to Exhale


Binding begins

It's been a very busy week.  Abby's quilt is officially done and was gifted on Father's Day. Being the 8 year old she is it was received with about as much fanfare as she could politely muster before going on to the next present.  Oh to be 8 again.

Pictures will follow of the completed quilt as soon as I can get the hubby to upload them as their on his camera and not mine.  We, read that as I, was rather frantic in taking the final pictures because it was about to pour rain and we were running late to the celebration.

 I plan to fully exhale on Monday when I finally get a bit of a "life" break.  My second sister's bridal shower is on Sunday which means we're almost in the home stretch for her wedding (whew).

Whew

And that is MY que to get my new ornaments photographed and listed. 
What? You thought I'd forgotten about Tumus? Oh no, I've got some pretty sweet ones for this season.
Hope you all have a great weekend!

Monday, May 23, 2011

A Fresh Quilt and Sun Tea

I've been busy taking a quilting class on Tuesdays at a local quilt shop (well more like 45 minutes away local). I really just wanted to be able to refine my "self-learned" quilting techniques.  I'm pretty keen on seeing how to baste a larger quilt.  This is for my niece Abby.  I love traditional quilts but sometimes they just need updating.
Abby's B-day quilt

Also I think Summer is already here.  It's funny because each year I'll complain about how it needs to be warmer in May all the while completely forgetting that it gets really hot and humid by Memorial Day weekend. I'd say we're right on track with that weather pattern.
I've been itching to make some sun tea too.  I remember my Mom's big, glass jar that she would fill with tea bags and set out in the sun.  It had a red lid that would get so hot in the sun. I like to ask myself why no one makes big, glass jars anymore and then realize oh yeah, plastic is cheaper and lighter and everyone's all about cheap these days :(  But I've learned one thing, plastic doesn't brew the same good tea and it sure as heck doesn't hold up as well.  I'm crossing my fingers hoping I'll find one soon.

Monday, December 6, 2010

Crafting for Everyone? Eep!

Sometimes Christmas wouldn't be Christmas
without last minute projects to finish, er, start.

Mom is getting felt cat face versions of all
of the cats we've owned and loved.
Then it'll be framed.

A dog ornament for the mother-in-law
and another one for my youngest sis.

I don't know when I'll have time to do all this, but I think if I wish REALLY
hard it'll happen, right?

There there's the "other" list of things I want to do, not necessarily
before Christmas, but I'll worry about that AFTER the Holidays.

There is a Santa Claus isn't there Virginia?

Friday, August 13, 2010

OMG I Need to Clean

Like desperately clean. I feel chaotic but somehow out of the chaos things are coming together!


This isn't really crafting for myself, but it's for my mom so that kind of counts right? It's for her very large stuffed sheep (who I've named Henry). He has only one other blanket and she requested something more patriotic.


In the mean time there's errands to run and supper to figure out. But I can't start supper until I've cleaned the kitchen which was floured and egged during the morning baking experiment, pound cake. For the record I'll be attempting this again as soon as I've got more eggs and butter. I also have plans to start on cleaning the sewing room. It's a sneezing chaos back there.

Wednesday, May 20, 2009

What's Going On Here?


Well for starters my work table is REMARKABLY clean :lol: This is due mostly to the fact that cutting strips of fabric and sewing and then quilting them takes alot of room. Felt has to be put away when I start working with fabric again because it sticks to everything including itself.

This is a bag I've made up as a belated Mother's Day present for my grandma ^_^ I loved the idea so much that you may see this very bag pop up in Pinpinn in the next few weeks. You'll have to forgive the pictures as they never turn out well with my sewing room lighting. I need to modify it slightly to be a tad smaller, but if you like it the way it is let me know! It's very easy to customize. This one is about 9inches across and close to 10 inches deep. It's not entirely finished, but I'm thrilled to at least see it 90% completed!


Related Posts Plugin for WordPress, Blogger...